Tear Sheets

Tuesday, 31 January 2012

Make Up Every Day

Hallo Beauties! How go the makeup experiments?

It's always fun to experiment with your makeup. You learn what works best for you and what doesn't work at all, and you learn shortcuts and techniques and all that good stuff.

I experiment all the time, I'm always trying new colours or shapes or techniques. Especially because I'm self-taught, these experimenting sessions have been invaluable lessons for me in learning and practicing techniques, and also it helps me learn to recognize immediately what looks and colours will work, what won't, and I also practice different shapes so that I'll know how to modify the look instantly for whatever face I'm putting it on. Makeup skill is a muscle, it needs to be constantly worked out and kept strong or it will atrophy.

I'm also always photographing myself. I'm sure people think I'm vain, but I like to test the effect of light and shadow and angle on different kinds of makeup and certain looks. It always helps when I'm deciding on a model's makeup if I know before hand how it reacts to being photographed, even if on a different face.

So here are a few shots of me, taken with either my trusty phone camera or my little Nikon Coolpix digital camera, at various times (a lot of the time in my car, on my way to or from some errand or job). These are some of my favourite go-to looks. :)

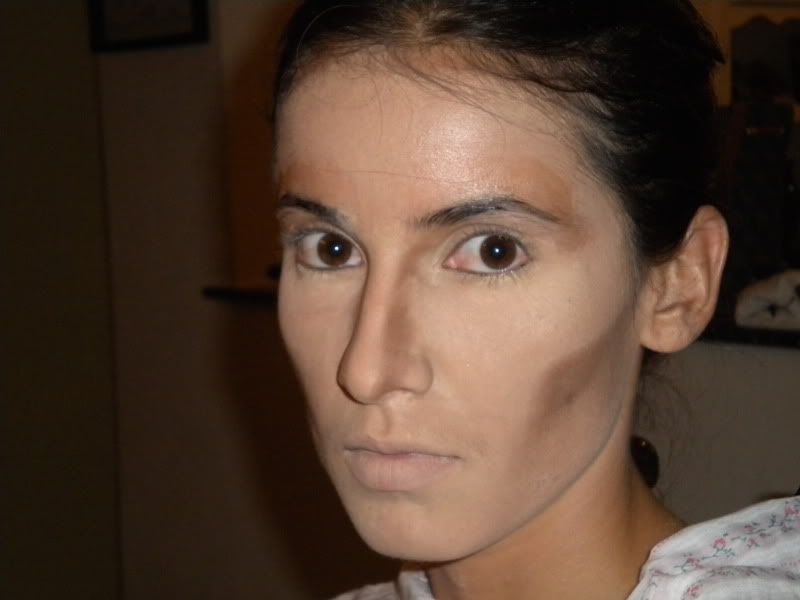
This is one of my most used go-to looks. When I took this first pic I was a little pale, owing to the fact that my baby was only about 6 months old and I spent every waking moment (that I wasn't working) with her! I live in a tropical island and there's a certain amount of colour that you get just from being outside, even though I do of course wear sunscreen.

This is a really simple look - clean skin (not naked, I just mean a clean finish with foundation), softly defined eyebrows for shape, and khol-rimmed eyes. I used the Avon Big Color Eye Pencil in Night Glisten all around the eye, blended it a bit either with my fingers or a domed blending eyeshadow brush (I love the one by E.L.F. and the fluffier one by Revlon) and then packed a black eyeshadow over the creamy pencil to set it (My go-to black eyeshadow is Carbon from MAC). Line the top and bottom waterline, add a nude lipstick (here I think it was a nude lip liner all over the lips and a chap stick on top for a velvety finish) and go!

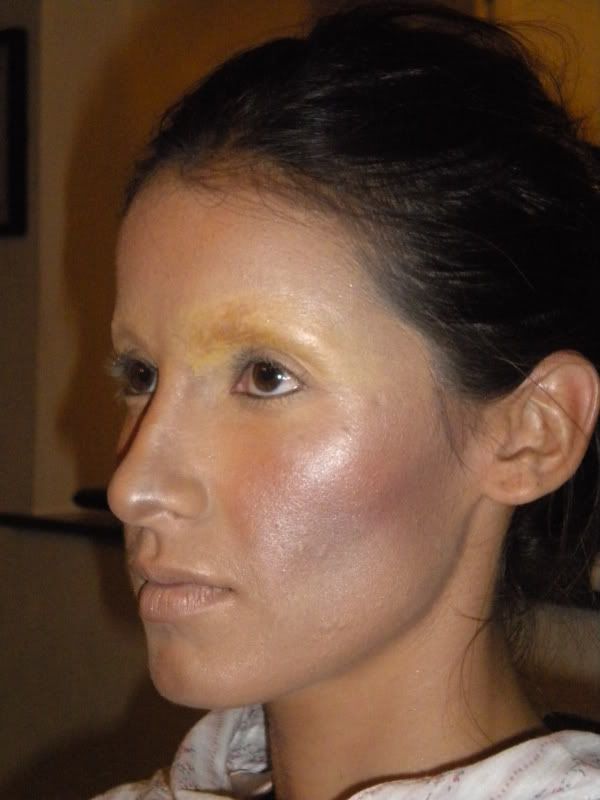
This next pic is of me and my husband. We were going to a dinner event for his work at the time. Baby was around 5 months old at this point, and I was still enjoying the flawless, glowing skin I had from pregnancy and breastfeeding (which I did for 10 months). This look focused on a super healthy glow, so I used foundation, concealer wherever I needed it, and a bronze-pink blush, and then I dusted the bronzer all around the perimeter of my face and into the hollows for a bit of sculting and glow. The eyes were actually quite simple. I'll do a post on this look by itself because it's a look that is so easily adapted, suits everyone, and you can change the lip or the cheek up to suit you and the event you're going to. 

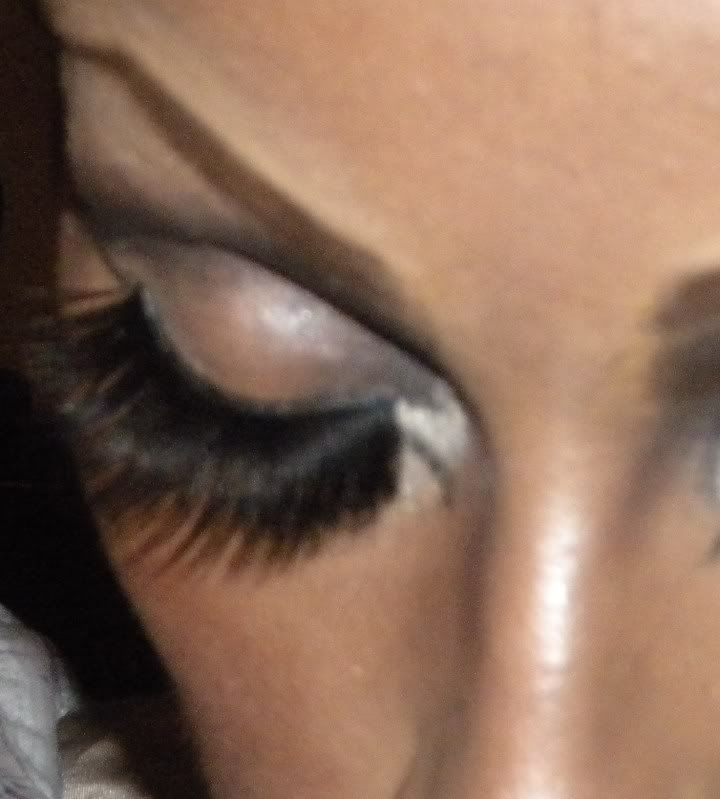
 My "No Make Up" Makeup. I focused on keeping the skin flawless, just highlighting the high points of the face and the eyes, and shaping the eyebrows well. I almost ALWAYS line my top and bottom waterline (it's just my thing) and apply two or three coats of mascara since I have wimpy little eyelashes - Here I remember I was trying out the Covergirl Lash Blast mascara and LOVED it, although the phone-camera doesn't realy do the lashes justice. For the lips, I just covered them with foundation too and then used a peachy lipgloss on top. I did use an E.L.F. bronzer on my cheeks but the phone camera and overcast day sort of washed that out too in this pic.

 This is another of my most favourite go-to looks. I had just cut my hair super short (sort of almost buzz-shaved at the back and a layered longer on top) and I pinned the longer pieces back. I defined the brows as always, used a slightly shimmery shell-coloured eye shadow all over the eye, a medium brown shadow for defining the crease, and then a thick black eyeliner. You could make the liner thinner but I like it thick. I used a pencil liner and set it with Carbon on a tiny pencil brush to soften the edge. You could also use a gel eyeliner and then the black shadow, but a liquid eyeliner would be too sharp. Plummy blush and a raisin lipliner all over the lip, toppped off with a plummy lip gloss, and the look is complete!

This look is pretty much the same as the last  one, just with the liner in a slightly different shape. I do like to play with shapes depending on how I'm doing my hair. In the last look it wasn't winged out like this one is, it was a little more blunt and a bit thicker, giving a slightly rounder eye shape. I have naturally quite slanted eyes, and in the first look I wanted them to appear a bit bigger and rounder. In this second incarnation of the look, I extended the liner a bit, sort of the way Angelina Jolie or Megan Fox do theirs, in a long triangle shape that extends a little ways along the lower lashline to pull the eye outward. The lip is a little lighter than the last look too. And as you can see, the hair is a little more grown out, and I went for sideswept bangs.

 This look is just a more dramatic version of the first one, using matte black, and dark silver and pewter eyeshadow colours to blend the black out farther and up into and slightly past the brow bone. The highlight colour was a mixture of MAC MSF in Soft and Gentle and a sheer lavender colour.

 This look uses one of my favourite pigments - actually one of my favourite eyeshadow colours period - from MAC, called Deep Blue Green. I got it years ago, and I think it's called something else now, but it's a stunning dark peacock teal. I generally use it over a creamy black base to deepen the colour even more. It's one of my most beloved colours and I wear it like this for performing (I sing) or for when I want a dark eye without actually using black. MAC MSF in Soft and Gentle again is the highlight colour for the brow bone and the cheek, and I used MAC Bare lipstick over blanked out lips.

The lighting on this pic is awful - it makes me look all sweaty when I swear I wasn't! But the makeup, I love!! It's all plummy and burgundy...I use a NYX jumbo eye pencil in the color Rust as a base. It's a gorgeous rich burgundy red colour. Over that I used two E.L.F. Brightening Eye Color Quads, Day 2 Night and Luxe. I used the burgundy from the Luxe quad on the lid and the dark purple from the Day 2 Night quad in the crease. I layerd both colours on the bottom lashline too, using the burgundy and then the dark purple over it just in the lashline. For some more definition, I used MAC Fluidline in Black Track with a tiny pencil brush on the top and bottom lashline for a soft line, and I lined the waterlines with Black Track as well (it stays all night!!). MAC MSF in Soft and Gentle is my go-to brow and inner corner highlight colour, and I used my Maybelline Fit Me blush in Deep Coral and a plummy lip gloss topped it off.

And as a last little bonus, here's my wedding-day makeup (And my beautiful red wedding dress)!! This photo was taken after the whole thing was over, I was sooo tired! We left for our honeymoon about 10 minutes later. The arms and head you can see in the shot belong to Aly, the photographer I work with. She was a Bridesmaid. 

The Makeup was black smoky eyes, blended out with a warm reddish-brown, a soft shimmery brow highlight, and gorgeous lashes (can't remember any of the brands), and finished off with warm bronze skin. I didn't wear any lipstick, only chapstick. I'm bless with pretty dark-coloured lips naturally, and I figured that after the Wedding Kiss and then greeting all those people and sneaking a kiss here and there with my husband (*wink*) lipstick would just be a waste. So I got away with Chapstick on my wedding day!
 Thanks to Khalil for this photo!

Look at how long my hair was! It was past my waist, and I'm not a short woman! I chopped it off after my daughter was born, but that's a whole 'nother story. The colour, though, is all my own natural hair colour. :)

Happy Make-Up Experiments everyone!

Hugs, kisses, and red wedding dresses,
Mandy

Friday, 27 January 2012

Wire Couture

My friend Alyson is ALWAYS coming up with crazy new concepts and ideas and then roping me in to help! LOL

One great thing about Aly though, is that she always gives me creative freedom with the makeup. Unless she has something extremely specific in mind, she lets me come up with the makeup concepts and execution, and even when she wants something specific it's more of a specific type of look rather than dictating all the makeup itself. (If that makes sense!)

Soon after the Mannequin shoot, Aly came up with this amazing idea for what she called "Wire Couture". It was a take on some stuff we've seen around - an outfit made of trash. It was awesome. Aly, with the help of a designer friend, made a dress out of big black plastic bags and cut up, pleated magazine pages, and a hat out of a round piece of chicken wire, a hole cut in the middle and attached to a black crochet cap.

We asked Cathy to be our model again because she impressed us so thoroughly as the Mannequin, and boy were we in for a surprise! Cathy proved to be such a chameleon, and I really loved making her up. There are those faces that I just love to get my hands on as a makeup artist, and Cathy's face is one of them. I adore her bone structure and her overall look. Check out where her natural eyebrows actually fall, and then have a look at her as the Mannequin again with the eyebrows 'erased' and drawn in much higher! Of course, women in the 20s actually shaved their brows off...we just covered Cathy's up with glue.

The Makeup concept for the Wire Couture shoot was late 80s/early 90s supermodel Cindy Crawford-esque makeup. Aly wanted the soft smoky browns and peaches. It was an interesting excercise, because Cathy's  face is quite chiseled, but under the soft makeup all her angles diffused.


 I kept Cathy's skin peachy and healthy, with subtle rosy cheeks. I think I used a Clinique foundation in a warm beige tone, and set it with a medium/light loose powder by Almay and a matte bronzer by Constance Carroll for warmth. We highlighted VERY subtly with MAC MSF in Soft & Gentle (one of my personal favourite products of all time). I used matte browns and beiges on her eyes for soft, smoky definition. I used a few different brands of eyeshadow, from MAC (charcoal Brown and Brule), and a L'Oreal palette (can't remember the name - this was over a year ago!). The eyeliner - I think it was by Covergirl - on the upper lids was a very dark espresso brown khol liner, smudged lightly to soften the edges, and on the bottom lashes I used a lighter brown pencil and softened it with MAC charcoal brown eyeshadow. I lined the lower waterline lightly with a beige khol pencil to brighten the eyes and keep the look soft. I topped the eyes off with some Clinique Natural Mascara and a pair of Ardell Fairies lashes. I decided to leave the browns natural, slightly unkempt a la early 90s style. I loved how it looked. The lips I made fuller, lined just outside the natural lip, and filled in with the pencil. I topped it with a peachy lipstick. I didn't use any lip gloss since we wanted a more matte, satiny finish to the makeup on a whole.
The finished product

 That Chicken Wire hat was the BOMB! See the plastic bag top?

Cathy has the most amazing profile!

The Whole Oufit. We shot this in my backyard with my other late grandfather's old wheelbarrow and a giant umbrella skeleton. My Grandpas left use some pretty cool props! 

That's it for today, guys!! Hope you enjoyed! I just might make one of my first youtube videos a tutorial on this look because I just LOVE it.

Have a great day!

Love, kisses and chicken wire hats,
Mandy

Thursday, 26 January 2012

Long Time no Face!!

Hey guys!

It's been a loooooonngggg time...And there are WAY too many reasons for that to go into here. I've missed this blog! And now I'm back! I just thought I'd jump right back into the mix and post the follow up photos to my last post...The Mannequin Shoot.

This was an awesome shoot, easily one of my favourites. The concept was that a mannequin in an abandoned storehouse comes to life but is all alone, with only the other mannequins, who are not alive, for company. The girls - Tara for hair, Rebekah for posing direction, and of course, my partner in crime, photographer Alyson Holder - were all fantastic, Cathy is a fantastic model, even though she isn't a professional model and has so little experience. Perhaps that worked in her favour....she was extremely receptive to all help and instruction, she didn't ove rthink her poses, and she absolutely NAILED the mannequin-like poses while still looking alive and kind of sad, which was the idea. We shot this at my late grandfather's house which is full of old fashioned furniture, closests, crockery and ornaments. This house was built in the 1930s and so had the perfect feel and look for this 20s-30s fashion-themed shoot.

The Mannequin comes to Life
Alyson's Mum, Aunty Sis, Made the dress. Aly and Aunty Sis designed the dress, and it was made of satin and tulle. Cathy was a trooper because it was  August - in Barbados, August is one of the hottest months. It was around 33 C (about 92F) and around 98 % humidity. poor Cathy was absolutely MELTING in that closet, and the makeup was a challenge to get it to not slide off!

 The makeup was less shiny than in the test shoot (which was also photographed with my little Nikon point-and-shoot digital). We erased the eyebrows using the glue trick, which was actually quite difficult because of the humidity and heat that day - each layer of glue took forever to dry. since there was nowhere to buy latex in Barbados at the time, I had to keep to the glue stick. The makeup took nearly two hours to complete. The erased eyebrows took around and hour and then the highly polished, perfected, almost-plastic skin took another hour. I used 4 thin layers of L'Oreal True Match Foundation in N4 - Natural Beige on her skin, allowing each layer to set completely. Cathy doesn't have oily skin, and so I set the foundation with a fine layer of MAC MSF Natural in Light/Medium to give a glow, and I highlighted with MSF in Soft and Gentle. The eyeshadow was from the CS 88 palette and more Soft and Gentle. Eyelashes were Ardell Babies on the bottom, and some synthetic lashes on top. I really cannot remember what brand they were. Tara gave her a finger-wave style, but it wasn't perfect. We loved that we could see the bobby pins, it kind of deconstructed the look. We created the head piece by gluing feathers layer by layer onto a round piece of fabric and then we pinned in into her hair.

Cathy has the most amazing bone structure!! 

This photo from the shoot won a few awards and got a lot of attention at a few exhibitions. It is a soft, touching protrait of the lonely Mannequin. Here you can see the really highly, arched, pencil thin eyebrows. They were drawn on with a light brown powder and defined ever so lightly with a darker brown. MAC Omega and Charcoal brown would be good replacements for those two colours, though that's not what I used.. 

The Mannequin sits down to a tea party with her friend. I just erased her lips with  concealer, powdered it, and added a 20s flapper lip shape with a dark red lipstick. I think it was Wine Not from Black Opal, and Avon Glazewear in Real Red to top it of and give it a slick shine.


So there it is! I'm so sorry it's been so long! But I'm back! I hope you enjoyed this one, and I've got a back log of stuff to post so keep looking out for more!

Love, kisses, and cupid lips,
mandy


**All photos courtesy of Alyson Holder, 3rd EyE Photography. Makeup By Mandy Cummins, About Face. Hair by Tara Thompson, Hair By Tara**

Monday, 30 August 2010

Shoot Accomplished!

I am soooooo tired but we had such an AMAZING shoot yesterday! Cathy was an awesome model, and the whole team worked so well together! Our only difficulty was time constraints...but we made it work!

Here are some of the Dry-Run photos from our makeup experiments that happened really late Friday night...We were doing makeup practice from around 11pm Friday till 2am Saturday!

It's really important to do these practice sessions, especially for really involved shoots and really elaborate makeup, because there are so many steps involved and so so so many different ways to accomplish one effect that you should to learn your model's face and figure out what works best, what steps you can leave out, what products work best, and so on.

Check out my last blog for what the concept of the shoot was. For the makeup for this concept, I decided that I needed to accomplish a 'plastic skin' effect, to make her look like a mannequin. She also needed to look a little sad since she had been discarded, and I decided I wanted her to look very angular because it gives the feeling of being molded, like a mannequin would be. I decided that I would 'erase' her eyebrows too, because then I could draw her eyebrows on higher and it would give the impression of a 'pulled' look and tight skin.

So here are some of the pictures from our Dry-Run.

The first is the contouring. Cathy looks like a ghost!


Now for the plastic skin and the covered eyebrows:


We didn't end up doing the bottom lashes like this because they made her too wide-eyed, but it was an idea. this is how you accomplish big wide-open doll-eyes.


A little brow bone definition. She does look kinda sad, especially with no eyebrows!


And we add eyebrows and lashes...


Finished! Of course I won't show you everything...you gotta wait till we get the shots from the actual photoshoot! But here's a side profile:


This makeup is actually a little more 'drag queen' than the final look on the day. Stay tuned for the final shots! They are incredible...Wait till you see how the costume and the hair and the makeup just all came together!

Until next time stay beautiful inside and out!

*I certify that all photos used in this post are my own*

Tuesday, 24 August 2010

Gearing up for a photoshoot!

Hello beauties!!!

I am soo excited, me and my friend Alyson are getting ready to do a photoshoot this weekend. It's just for portfolio. Check out Aly's stuff, she's an awesome photographer (she took the photo of me I posted in my last blog too).

www.flickr.com/ALYshot


Hair is going to be done by Tara Thompson, hair stylist extraordinaire!

http://www.facebook.com/#!/pages/Mobile-Hair-By-Tara/105209839537936?ref=ts

Our model is my gorgeous friend Cathy.

Photobucket

Photobucket

The concept is Model as a Mannequin. So without giving too much away, the makeup needs to look modern but sad, and she also needs to look mannequin-like, i.e. plastic. I'm toying with the idea of Flapper makeup. I want to up-date it, but that's the idea,. Think Betty Boop!!

Photobucket

There's just something about the big eyes that I think looks a little pitiful. Flapper makeup is also the inspiration for modern Goth makup, which can also look pretty sad. Our girl needs to have a tragic beauty about her. So I'm going to update the classic flapper look from this:

Photobucket
Photobucket

To something along the line of this:

Photobucket

Can you see the difference? I'm going to soften the lines around the eyes a little, make it a tad more haute couture, and exaggerate the droopy eyes, which makes them look sadder. I can accentuate the droop by shading dark underneath the inner part of the brow. I also want a pencil thin 'painted on' brow, and so I need to erase Cathy's natural brows. I'm going to use this trick that I learned from Kandee Johnson and Blanche Babcock. Josh aka Misty Maven (Petrilude on YouTube) also has an eyebrow covering video that I like. Check out their eyebrow erasing tricks:

http://www.youtube.com/watch?v=Oc229_1TjpU


http://www.youtube.com/watch?v=nGdVDQ5cmAA


http://www.youtube.com/watch?v=vb3D-afzKEc

Those are my three most favourite makeup gurus on YouTube. They are all so inspirational in their own ways and I've learned so much just in the last few months from watching them. I think you can ALWAYS learn more, no matter how long you've been doing something. I've been a makeup artist since I was 18...that's TEN YEARS!!! But I'm always trying new things and learning new tricks!

We're doing a make-up dry-run on Friday and so I will post the raw shots from that along with the final look when the shoot's all finished. I'm excited!! (I think I said that already!! LOL)

Stay tuned, guys!

See you soon!

**Please note that I DO NOT own any of the photos I have used. The photos of Cathy are thanks to Jaryd Niles Photography. All the other the owners are unknown but thanks to them!**

Wednesday, 18 August 2010

It's Just ME!!

I am sooo excited that I'm starting my new Make-Up blog....about something that I really really love and am really passionate about. I think all women should learn about make up and use it to enhance themselves. When you look good, you feel good! Stay tuned for all my make up tips and tricks and hints. Let's start off with my favourite: the "nude look" in ten easy steps. It just looks fresh and natural but polished. This is the best face to learn to do because you can add to it for an evening out, and it's really easy to touch up! I'm going to start filming tutorials for youtube, too, so stay tuned for those!

Photobucket

(1) Apply foundation. Make sure it matches your skin and that it's blended well. It doesn't matter if it's light, medium or full coverage, choose whatever makes you feel comfortable.

(2) Apply concealer a shade lighter than your foundation to the entire area under your eyes, and around your nose, and anywhere else you think you need some extra coverage.

(3) Set your foundation and concealer with powder. Remember,if you're using a puff, PRESS the powder into your skin, never rub. if you're using a powder brush, use DOWNWARD strokes, never UPWARD. The only place you don't sweep DOWN is under your eyes...sweep across from the nose-bridge to the temple.

(4) Contour if you want, brush some darker powder or a matte bronze with an angled blush brush along your temples, the sides of your forehead, the sides of your nose and under the cheekbones (corner of the mouth to the top of the ear). This makes you look defined and tanned. Just don't go too dark or you'll look weird!

(5) Use a pale, neutral shimmery or matte eye shadow all over your lid, from the lashline right up to the brow. if you're caucasian, you could use a pale yellowy or beige colour, if you're hispanic or indian, a bronze or taupe colour, and if you're of African descent, a copper or chocolatey brown. Basically use a colour that matches your natural flesh tone.

(6) Define your brows. Some people do this with brow gel that looks like clear mascara, you could also use a brow powder and a tiny stiff angled brush to darken your eyebrows. You could also use both, darkening the brows and then taming stray hairs with the brow styling gel. Eyebrows are VERY important because they shape and frame your face and make your eyes stand out. When you have nicely groomed and defined brows, you just look really well put together. Pay attention to how to shape your brows! I will post a blog on grooming the brows and findign the right shape soon.

(7) Curl your lashes, and apply your favourite mascara. Optional: before the mascara, apply a thin line of liquid liner to your top lashline. Do this if you want just a little more defintion. If not skip it!

(8) Line your water line with a black or dark brown khol eyeliner if you want to define the shape of your eyes. Or you could line your lower water line with white eye pencil to look bright eyed and awake.

(9) Apply your favourite blush lightly to the cheeks. If you want to you can also apply a highlighter to the tops of the cheekbones and down the center of the nose. This just gives an added bit of subtle drama to the face by bringing out the features and contouring it a little more by adding some depth.

(10) Apply lipbalm, lipgloss, or lipstick. use a lipliner if you want to, but for this look it's not necessary. It's Your choice!

You're done! Ten easy steps and now you look incredible and polished and ready for anything!

Much love and sparkles and beauty! See you next time!